Introduction:
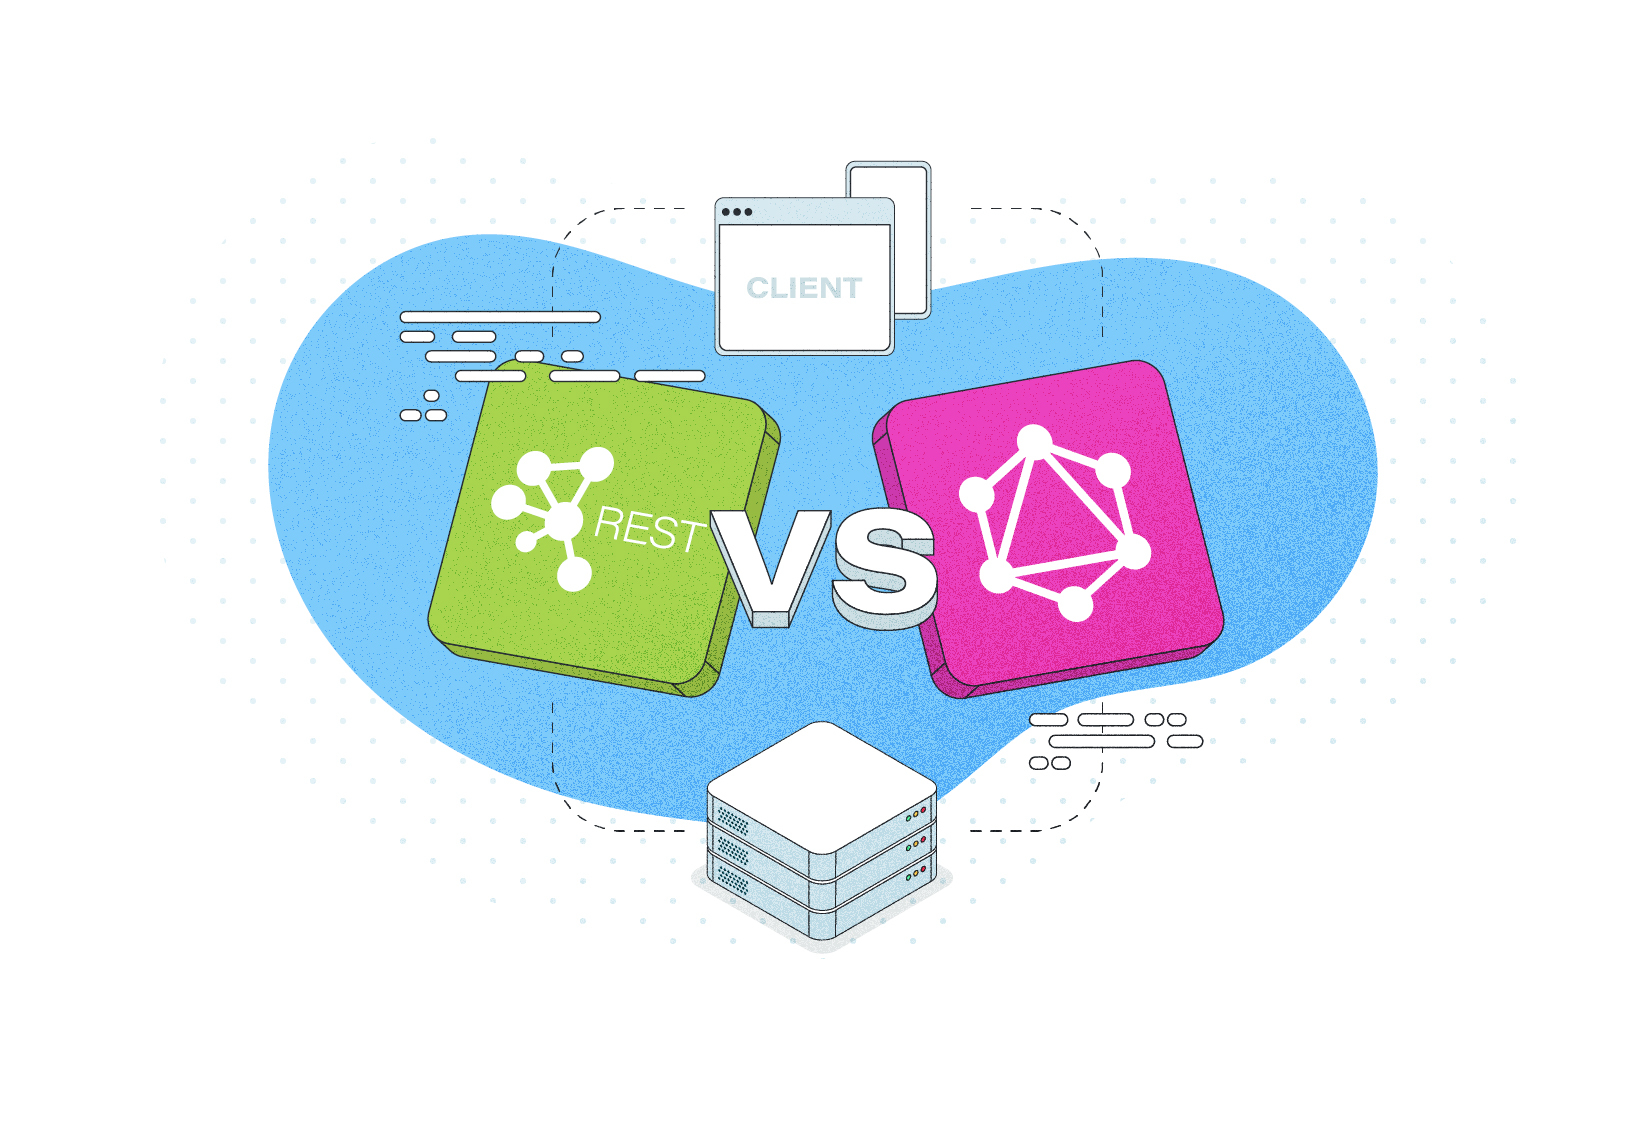
In the world of web development, APIs (Application Programming Interfaces) play an important role in facilitating communication between different systems. REST (Representational State Transfer) has been the go-to choose for building APIs for many years. However, in recent times, a new contender has emerged – GraphQL. This blog post will delve into the differences between GraphQL and REST API, providing insights and a Node.js implementation guide.
Understanding REST API: REST API comprehension involves grasping architectural style that uses a defined set of constraints and principles to build or constructing web services. It follows to a stateless, client-server communication model as well as holds HTTP methods (GET, POST, PUT, DELETE) to interact with the resources. RESTful APIs expose a fixed set of predetermined set of endpoints, through which and clients can request specific resources from the server to consume data.
Introducing GraphQL: GraphQL, developed by Facebook, is an API query language and runtime that provides a more effacement approach compared to REST.It empowers clients to precisely define the exact data they require in a single endpoint request. GraphQL enables clients to query and mutate using a flexible and intuitive syntax. The server defines a schema, outlining the available data and operations, granting clients the power to request specific data structures.
Key Differences:
- Over-fetching and Under-fetching: A notable distinction between GraphQL and REST lies in their handling of over-fetching and under-fetching of data, or this is the one of the drawbacks of REST. REST can often lead to often resulting in extra or insufficient data being transferred. GraphQL resolves this issue by enabling clients to precisely specify their data requirements efficiently, minimizing occurrence of unnecessary data transfers.
- Multiple Requests vs. Single Request: RESTful APIs often require multiple requests to retrieve related data, resulting in the well-known “N+1 problem.” GraphQL solves this problem by enabling clients to fetch all the required data in a single request, thereby reducing network overhead.
- Versioning and Evolution: REST APIs frequently require versioning when implementing changes, which can pose in maintenance challenges. GraphQL addresses this issue by facilitating seamless schema evolution without breaking existing clients. Clients can request the exact shape and version of the data they need.
- Development Efficiency: GraphQL enhances development efficiency by offering a self-documenting schema and allowing front-end developers to retrieve precisely what they need. This approach reduces communication overhead between front-end and back-end teams and empowers developers to iterate rapidly.
Building a REST API using Node.js.
Step 1: Setting up the project Assuming you already possess a project directory, navigate to it and initialize it as a Node.js project
cd rest-api
npm init -y
Step 2: Installing required dependencies Install the necessary packages: express and body-parser.
npm install express body-parserStep 3: Creating the server and defining routes Create a new file called index.js and set up your REST API server using Express.
const express = require('express');
const bodyParser = require('body-parser');

const app = express();
const PORT = 3000;

// Parse incoming request bodies
app.use(bodyParser.urlencoded({ extended: false }));
app.use(bodyParser.json());

// Define your API routes
app.get('/hello', (req, res) => {
  res.json({ message: 'Hello, REST API!' });
});

// Start the server
app.listen(PORT, () => {
  console.log(`REST API server is running at http://localhost:${PORT}`);
});
Step 4: Running the REST API server Start the REST API server by running the index.js file.
node index.jsNow, you can access your REST API endpoints by making HTTP requests to the appropriate routes.
Example Request: Open a web browser or use tools like Postman to make an HTTP GET request to http://localhost:3000/hello. You should receive the following response:
{
  "message": "Hello, REST API!"
}
Congratulations! You have successfully implemented a fundamental REST API using NodeJs and Express! You can add more routes, implement CURD operations, establishing connections to database for building more advanced features and best practices.
Building a GraphQL using Node.js.
Now let’s move on to building a GraphQl API using Node.js and Appolo Server.
Step 1: Setting up project by creating a new directory for your project and initialize it as a Node.js Project
mkdir graphql-api
cd graphql-api
npm init -y
Step 2: Installing required dependencies Install the necessary packages: express, apollo-server-express, and graphql.
npm install express apollo-server-express graphqlStep 3: Defining the GraphQL schema Create a new file called schema.js and define your GraphQL schema using the GraphQL schema language.
// schema.js

const { gql } = require('graphql');

const typeDefs = gql`
  type Query {
    hello: String
  }
`;

module.exports = typeDefs;
Step 4: Implementing resolvers Create a new file called resolvers.js and implement the resolvers for your GraphQL schema.
// resolvers.js

const resolvers = {
  Query: {
    hello: () => "Hello, GraphQL!"
  }
};

module.exports = resolvers;
Step 5: Setting up Apollo Server with Express Create a new file called index.js and set up Apollo Server with Express.
// index.js

const express = require('express');
const { ApolloServer } = require('apollo-server-express');
const typeDefs = require('./schema');
const resolvers = require('./resolvers');

const app = express();

const server = new ApolloServer({ typeDefs, resolvers });

server.applyMiddleware({ app });

const PORT = 3000;

app.listen(PORT, () => {
  console.log(`GraphQL server is running at http://localhost:${PORT}${server.graphqlPath}`);
});
Step 6: Running the GraphQL server Start the GraphQL server by running the index.js file.
node index.jsNow, you can access your GraphQL API at http://localhost:3000/graphql and run queries against it.
Example Query: Open a web browser or any GraphQL client and access http://localhost:3000/graphql. Then, execute the following query:
query {
  hello
}
You should receive the following response:
{
  "data": {
    "hello": "Hello, GraphQL!"
  }
}
Yes! You have successfully implemented a GraphQL API using Node.js and Apollo Server. You can now expand the schema, define more types, and implement additional resolvers to build a more complex API.
Remember to explore the Apollo Server documentation for more advanced features and best practices.
Let’s explore the differences in coding between multiple REST APIs and GraphQL.
Multiple REST APIs: When working with multiple REST APIs, each API typically represents a separate resource or domain. Each API will have its own set of endpoints, request/response structures, and possibly authentication mechanisms. Here’s an example of setting up multiple REST APIs using Node.js and Express:
// index.js

const express = require('express');
const bodyParser = require('body-parser');

const app = express();
const PORT = 3000;

app.use(bodyParser.urlencoded({ extended: false }));
app.use(bodyParser.json());

// API 1: Books
app.get('/api/books', (req, res) => {
  // Logic to fetch all books
});

app.post('/api/books', (req, res) => {
  // Logic to create a new book
});

app.get('/api/books/:id', (req, res) => {
  // Logic to fetch a specific book by ID
});

// API 2: Users
app.get('/api/users', (req, res) => {
  // Logic to fetch all users
});

app.post('/api/users', (req, res) => {
  // Logic to create a new user
});

app.get('/api/users/:id', (req, res) => {
  // Logic to fetch a specific user by ID
});

// Start the server
app.listen(PORT, () => {
  console.log(`REST API server is running at http://localhost:${PORT}`);
});
In this given scenario, we have two distinct APIs: one for managing books and another for managing users. Each API has its own set of unique endpoints that are specific to the specific resource it handles. Corresponding routes are defined accordingly, and the logic to handling each request is implemented within the respective route handlers.
GraphQL: When working with GraphQL,shifts from having multiple APIs to having a single GraphQL API that handles all data retrieval and mutations. Rather than having multiple endpoints for different resources, you establish a single endpoint for all GraphQL requests. Below is an example of setting up a GraphQl API using NodeJs,Appolo Server and GraphQl schema/resolvers.
// index.js

const express = require('express');
const { ApolloServer, gql } = require('apollo-server-express');

const app = express();
const PORT = 3000;

const typeDefs = gql`
  type Book {
    id: ID
    title: String
    author: String
  }

  type User {
    id: ID
    name: String
    email: String
  }

  type Query {
    books: [Book]
    users: [User]
  }

  type Mutation {
    createBook(title: String, author: String): Book
    createUser(name: String, email: String): User
  }
`;

const resolvers = {
  Query: {
    books: () => {
      // Logic to fetch all books
    },
    users: () => {
      // Logic to fetch all users
    },
  },
  Mutation: {
    createBook: (_, { title, author }) => {
      // Logic to create a new book
    },
    createUser: (_, { name, email }) => {
      // Logic to create a new user
    },
  },
};

const server = new ApolloServer({ typeDefs, resolvers });

server.applyMiddleware({ app });

app.listen(PORT, () => {
  console.log(`GraphQL server is running at http://localhost:${PORT}${server.graphqlPath}`);
});
Also implement resolvers that define the logic for each query and mutation. These resolvers contain functions that are responsible for fetching data or performing operations based on the incoming GraphQL requests.
With GraphQL , client can send a single request to the GraphQL ,endpoint and specify the exact data they need, including related data. The server then resolves the request by executing the appropriate resolvers to fetch the requested data.
This approach minimizes the need for multiple round trips to different endpoints and reduces over-fetching or under-fetching of data.
Here’s an example of how a GraphQL query might look like to fetch books and users:
query {
  books {
    id
    title
    author
  }
  users {
    id
    name
    email
  }
}
When executing this query against the GraphQL endpoint, the server triggers the relevant resolvers for the books and user’s fields. This enables the retrieval of the necessary data from the data source, such as a database and facilitate its return in desired structure.
Similarly, mutations can be performed by sending a GraphQL mutation request.
mutation {
  createBook(title: "New Book", author: "John Doe") {
    id
    title
    author
  }
  createUser(name: "John Doe", email: "john.doe@example.com") {
    id
    name
    email
  }
}
This mutation request will trigger the execution of the createBook and createUser resolvers, where you can perform the necessary operations (e.g., saving the data to a database) and return the created book and user objects.
Conclusion:
While REST APIs often involve setting up multiple endpoints for different resources, GraphQL provides a single endpoint that handles all data retrieval and mutations. GraphQL allows clients to only request the data that they need, reducing overhead on the network and improving performance. Resolvers let you control the way data is fetched and transformed before being returned to clients. Consider the nature of your project, the complexity of your data requirements, and the needs of your client applications when deciding whether to use multiple REST APIs or a single GraphQL API.
Thanks for Reading!
Leave a Reply